Last updated: October 27, 2026
Key Takeaways
- Proof of coverage is a short document showing required insurance during your trip or stay.
- Ask the insurer for a visa letter or certificate, then verify every field before submitting it.
- The letter should identify the insured person, coverage, and dates.
- Common errors are simple paperwork mistakes, so they recur often.
Nomad Insurance for Visa Applications and Proof of Coverage is about the documents embassies and consulates will accept, not just the policy itself. This guide explains how to get a certificate of insurance, a coverage letter, and the right policy wording so your dates, names, and benefits line up with the visa file.
Who this applies to, and what it assumes you already have
This applies if you need proof of coverage for a visa, residence permit, or entry application and you already have, or are about to buy, a nomad or travel insurance policy. It assumes you can read basic policy documents and can send a PDF to an embassy or consulate, usually by email or online upload. It does not assume that one format works everywhere, because visa offices often ask for different wording, different dates, or different benefit limits.
This is information, not financial advice, and a qualified adviser should be consulted for your own situation if the visa has unusual insurance rules or if you are unsure how your policy fits local requirements.
The practical question is simple: can the insurance company issue a document that names you, shows the active dates, and states the required cover in plain language? If yes, you are usually dealing with a document problem, not a policy problem. If no, the issue is often that the policy was bought before checking the visa wording.
Some applicants can handle this themselves. That includes people whose embassy asks for a standard certificate of insurance, a coverage letter, or proof that the policy covers medical treatment abroad for the full visa period, but local rules can differ, so check the embassy guidance or a qualified immigration professional. It is less suited to cases where the embassy gives no template, the consulate asks for an original stamped letter, or the visa rules mention exact benefit wording that does not appear on the insurer’s standard documents. In those cases, it is usually better to ask the insurer for a tailored letter and, if the situation is still unclear, confirm requirements directly with the issuing authority or a qualified immigration professional.
A useful source for insurance terminology is the International Organization for Standardization, and visa authorities often publish their own country-specific instructions. The documents matter because immigration officers compare paperwork, not marketing copy.
What embassies and consulates usually mean by “proof of coverage”
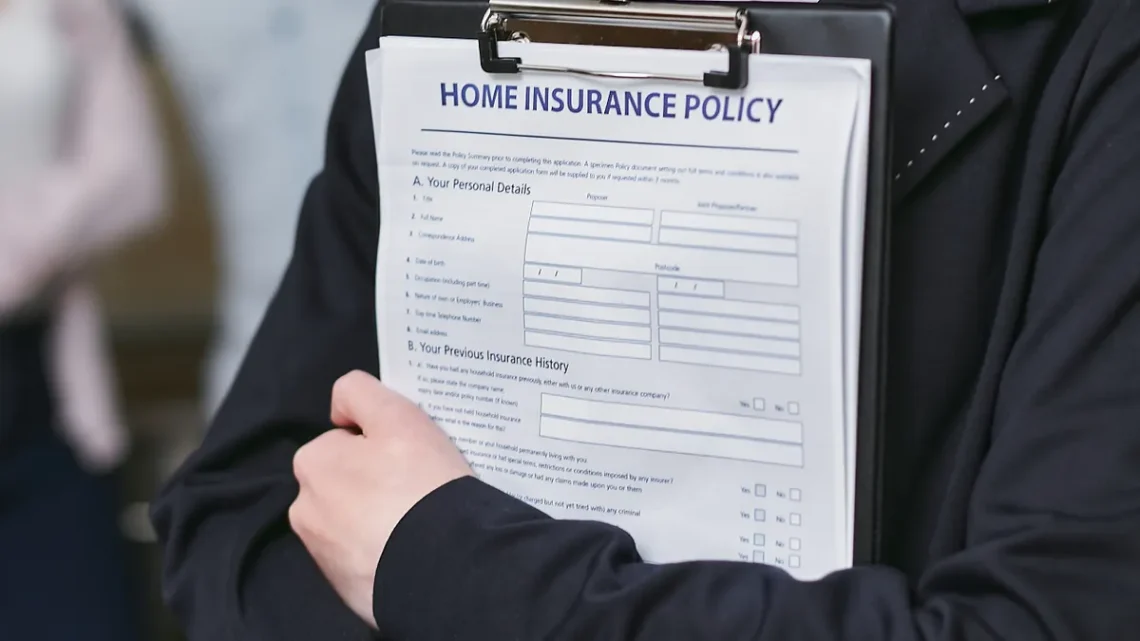
Proof of coverage is a document that shows the insurer will cover certain risks during the dates of your trip or stay. In visa files, that usually means a certificate of insurance or a coverage letter rather than the full policy booklet. A certificate of insurance is a short formal summary; a coverage letter is a letter on insurer letterhead that states the coverage details in prose.
Embassies and consulates usually want the document to match the application period and to name the insured person exactly as it appears in the passport. They may also expect the destination country or region to be listed, along with the policy number, start and end dates, and the main cover types. For long-stay or digital-nomad visas, some offices care more about wording than about the brand name of the insurer. A policy can be perfectly valid and still be rejected if the proof letter is vague, missing dates, or written for a different country.
The common mistake is sending the full policy terms and hoping the officer reads them. Many will not. They need a concise document they can scan in under 1 minute. A 15-page policy booklet may prove nothing at a glance if the relevant clause is buried on page 11. That is why the cover letter or certificate matters.
One more thing trips people up: “travel insurance” and “nomad insurance” are not always treated the same way by visa staff, so check the local checklist rather than assuming the label alone will work. The label on the product is less important than whether the document clearly shows the required cover. If the consulate asks for emergency medical treatment, repatriation, or hospitalization coverage, the proof document should say those words, or you should confirm the wording with the insurer or the visa office, not use a generic phrase like “comprehensive protection.”
How do I get a certificate of insurance that a visa office can read?

You get one by asking the insurer for a visa letter or certificate that matches the embassy’s wording, then checking every field before you submit it. The process sounds simple, but the detail matters.
- Read the visa checklist line by line. Pull out the exact insurance terms, such as “certificate of insurance,” “coverage letter,” “medical evacuation,” or “repatriation.” Verify whether the office wants a PDF, a printed original, a wet signature, or a stamped letter. If the checklist names a consulate form or template, that is the target. A problem is any term you cannot map to your policy documents.
- Match the policy start date to the visa need. Make sure the coverage begins on or before the first required date, not the day after you arrive. Many visa offices compare the policy dates to the application dates, visa validity, or intended stay. Verify the start and end dates in the certificate, not just in the purchase confirmation. A mismatch of even 1 day can cause a rejection or a request for resubmission.
- Use the passport name exactly. Ask for the document to show the full name as printed in the passport, including order and spelling. If your passport includes a middle name and the insurer omits it, check whether the visa office accepts the shortened form. A problem is any alias, nickname, or typo, because that creates a document mismatch.
- Request the right destination wording. If the visa is for one country, the certificate should name that country if possible. If the policy covers multiple countries or a wider region, make sure the letter still states coverage in the visa country. Some offices care about “worldwide excluding the U.S.,” “Schengen area,” or a named territory. A problem is a letter that says “global cover” without naming the destination at all.
- Check the benefits the office actually asked for. The document should mention the benefit types the embassy requires, such as medical treatment, emergency evacuation, hospitalization, or repatriation. If the office gives a minimum limit, confirm the policy meets it before you submit. If the limits are not listed on the proof letter, ask for them to be added. A problem is a generic certificate that only names the policy without any benefit detail.
- Confirm the policy number and issuer details. The certificate should show the insurer name, policy number, issue date, and contact details. If the insurer has a claims line or verification email, keep that with the file. Verify that the policy number on the letter matches the number in your account. A problem is a letter with no reference number, because it is harder for the embassy to verify.
- Check whether the document needs a signature or stamp. Some embassies accept an unsigned PDF from the insurer portal. Others want a signed letter, a stamp, or an official seal. Verify whether the signature is electronic, handwritten, or not required. A problem is uploading an unsealed document when the office explicitly asks for a stamped original.
- Save a clean PDF and one backup copy. Export the document at readable resolution, usually 300 dpi if you scan a paper letter, and keep the file size manageable for upload portals. Check that all text is legible, not cut off, and not compressed into blurry blocks. A problem is a cropped edge, missing page, or unreadable signature block.
A good result is usually a 1-page or 2-page proof document that matches the visa checklist closely. If the embassy wants dates, names, policy number, and benefit wording, those items should be visible immediately. The worst result is a beautiful policy booklet that no officer can quickly verify.
For broader decision-making on policy types and traveler profiles, the hub article on [nomad insurance by profile and situation] can sit above this page; this page is only about the documents.
What details must be on a proof of coverage letter?
The letter must show who is insured, what is covered, and for which dates. That is the minimum shape most visa offices can use.
In practice, a useful coverage letter includes the full legal name, passport number if requested, policy number, policy start and end dates, destination country or region, and the named benefits the embassy asked for. If the visa office asks for a specific minimum limit, the document should display that limit or clearly state that the policy meets it. If the insurer uses benefit language like “emergency medical expenses,” “hospitalization,” or “medical evacuation,” those terms should appear exactly as the office expects them.
The letter should also be readable without guessing. A visa officer should not need to cross-reference three pages of terms to find the coverage. If the proof document references a policy booklet, that booklet should be attached only as backup, not as the main evidence.
One real trade-off matters here: a short certificate is convenient, but too-short wording can fail the review. A longer letter is slower to get and harder to format, but it gives you room to match the embassy’s language. If the consulate provides a sample letter, treat it as a checklist, not as a suggestion.
Another point: if your visa spans 6 months, 12 months, or longer, the dates on the proof should cover the full required period or the portion the embassy actually asks for. If the policy renews monthly, the proof letter should explain that structure clearly enough to avoid confusion. Vague wording around dates is one of the fastest ways to trigger a follow-up request.
The mistakes people actually make, and what they cost
The most common errors are boring, which is why they happen so often. They are also exactly the sort of thing a visa officer will notice first.
Using the purchase confirmation instead of a certificate: A receipt proves you paid; it does not always prove the required coverage terms — ask the insurer for a certificate or letter instead.
Submitting dates that do not cover the visa period: If the policy starts after arrival or ends before the visa requirement ends, the file can be rejected or delayed — align the dates before you upload anything.
Leaving out the destination country: A letter that names only “international travel” may not satisfy the embassy — request country-specific wording.
Relying on a policy booklet with fine print: Officers do not have time to mine a booklet for the exact clause — attach the booklet only as a backup, and lead with the certificate.
Ignoring spelling differences in the passport name: A small typo can create avoidable friction — check the letter against the passport line by line.
Assuming one embassy’s rule applies everywhere: Requirements differ by country, city, and even consulate — verify the local checklist before sending the document.
These mistakes do not usually mean the insurance itself is useless. They mean the proof packet is incomplete. That distinction matters, because the remedy is often document correction, not policy replacement.
When the standard approach does not apply
The standard approach does not apply when the visa office asks for wording your insurer will not normally issue, when the coverage must be notarized, or when the rules are unusually specific about policy form. In those situations, the usual certificate may not be enough.
The embassy gives a template with exact phrases: The officer wants text matched closely, not just a general certificate — ask the insurer to mirror the template as closely as it will allow.
The consulate asks for an original stamped letter: A portal PDF may be rejected — request a signed and stamped paper document if the insurer offers one.
The visa requires coverage for a country or territory your policy excludes: The policy may not fit the visa at all — do not submit it as if it does, because a mismatch can lead to refusal.
The document language is not in the embassy’s accepted language: Translation may be required — provide a certified translation if the office asks for one, rather than an informal translation.
The policy renews automatically but the visa office wants a fixed end date: Automatic renewal can confuse the file — ask for a letter that states the current covered period, not the renewal mechanics.
In these cases, the problem is not how to read the document. The problem is that the document form has to change. That is where insurer support, consular instructions, or qualified immigration help becomes worth the time.
For authorities, visa offices, and insurers, document standards are more useful than generic advice. The U.S. Department of State and other government visa pages often show how strictly applications are checked, even when they do not publish a single universal insurance rule.
How long it takes, and what a good result looks like
It usually takes as long as the insurer needs to generate the right document and as long as you need to verify it carefully. If the insurer has a self-service portal, a basic certificate may be available quickly. If you need customized wording, original signatures, or a destination-specific letter, expect more back-and-forth.
A good result looks plain, not fancy. The document should fit the visa officer’s checklist on 1 page if possible, use the passport name exactly, show the policy dates clearly, and name the required coverage in direct language. It should not force the reader to hunt through jargon or guess whether the policy applies to the visa country. If the office asks for supplemental proof, the backup pages should be attached in the same order every time.
The standard that matters is usability, not branding. A clean certificate, a coverage letter on insurer letterhead, and a readable policy summary are enough for many applications. If the visa authority asks for more, give them more — but only the documents they asked for. Overloading the file with irrelevant pages can make review harder, not easier.
The best habit is simple: compare the certificate against the visa checklist before submission, then compare it again after export or scan. A 5-minute review can prevent a 2-week delay.
What to submit, and what to keep for yourself
Submit the shortest document set that fully answers the visa office’s insurance question. That is usually the certificate of insurance or coverage letter, plus any page the office explicitly requested that proves benefit wording, dates, or territory.
Drafted with AI; not yet reviewed by a person.